
Adding new stock to your website using Autopromotor is nice and simple. Below is a step-by-step guide that helps you add new stock to your site. Everything from adding the registration to the spec of your vehicle is covered.
Take your time and watch the video below, or read through the guide fully, to get a clear understanding of how to upload your stock.
Video guide:
Step-by-step instructions:
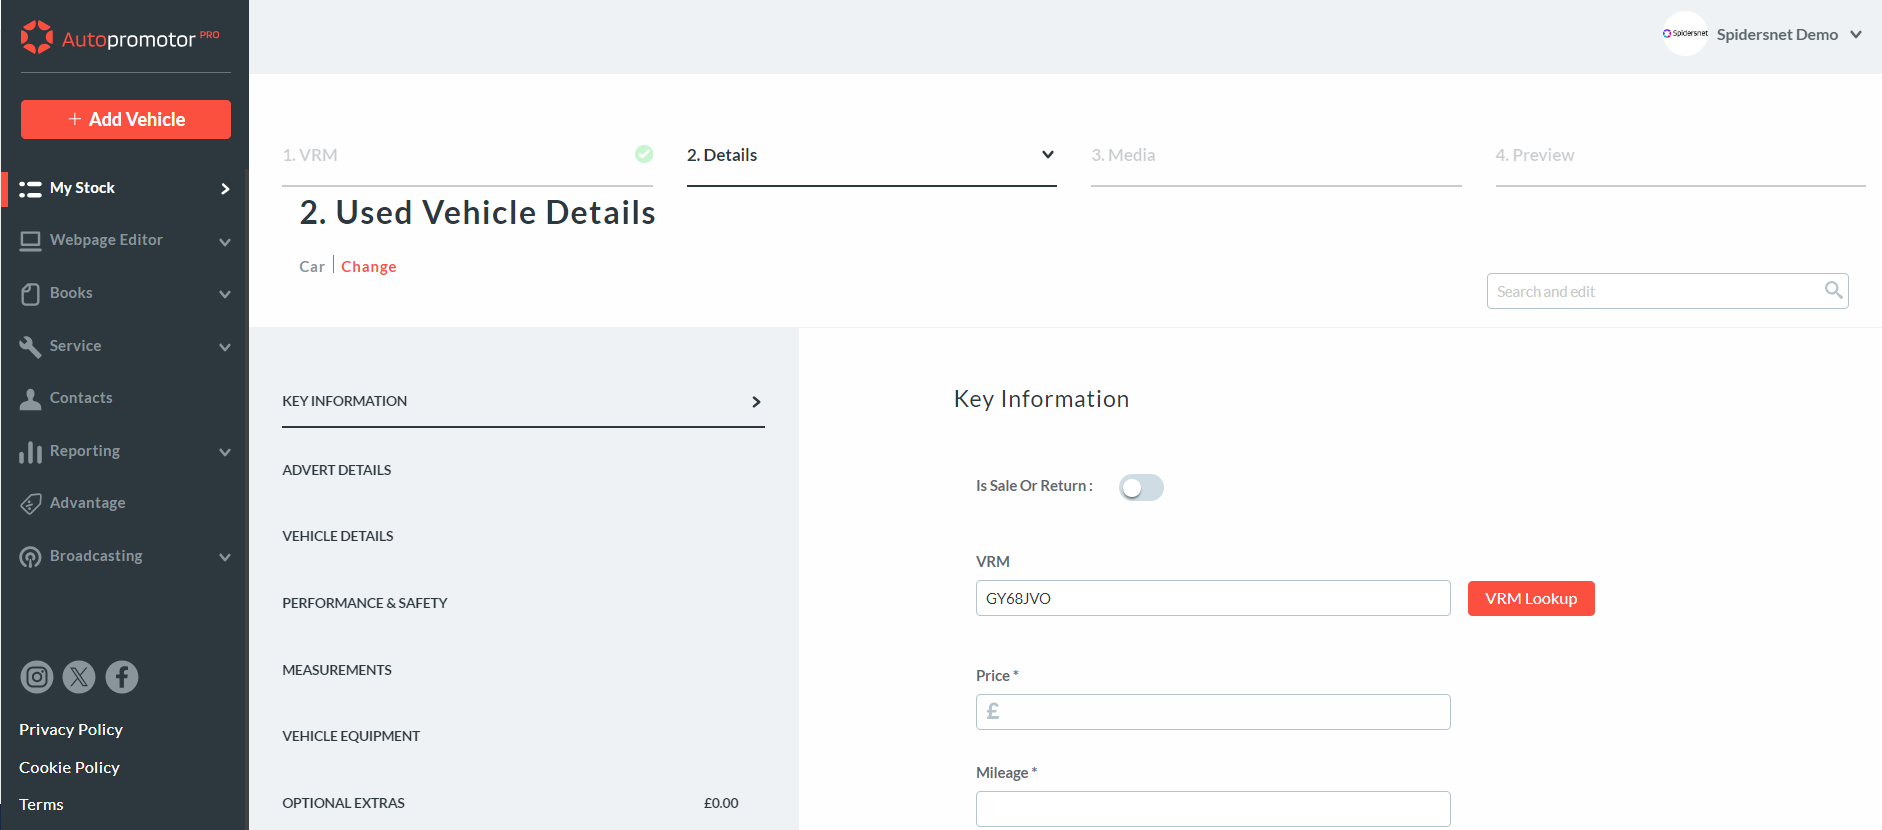
1 – Firstly you will want to click the ‘Add Vehicle’ button. Then you need to type your vehicle’s registration number, or select the vehicle type.

2 – Next you will need to fill in the vehicle’s details. This includes adding the make and model, pricing details, and everything else that will feature in your advert. This includes writing a detailed vehicle description.
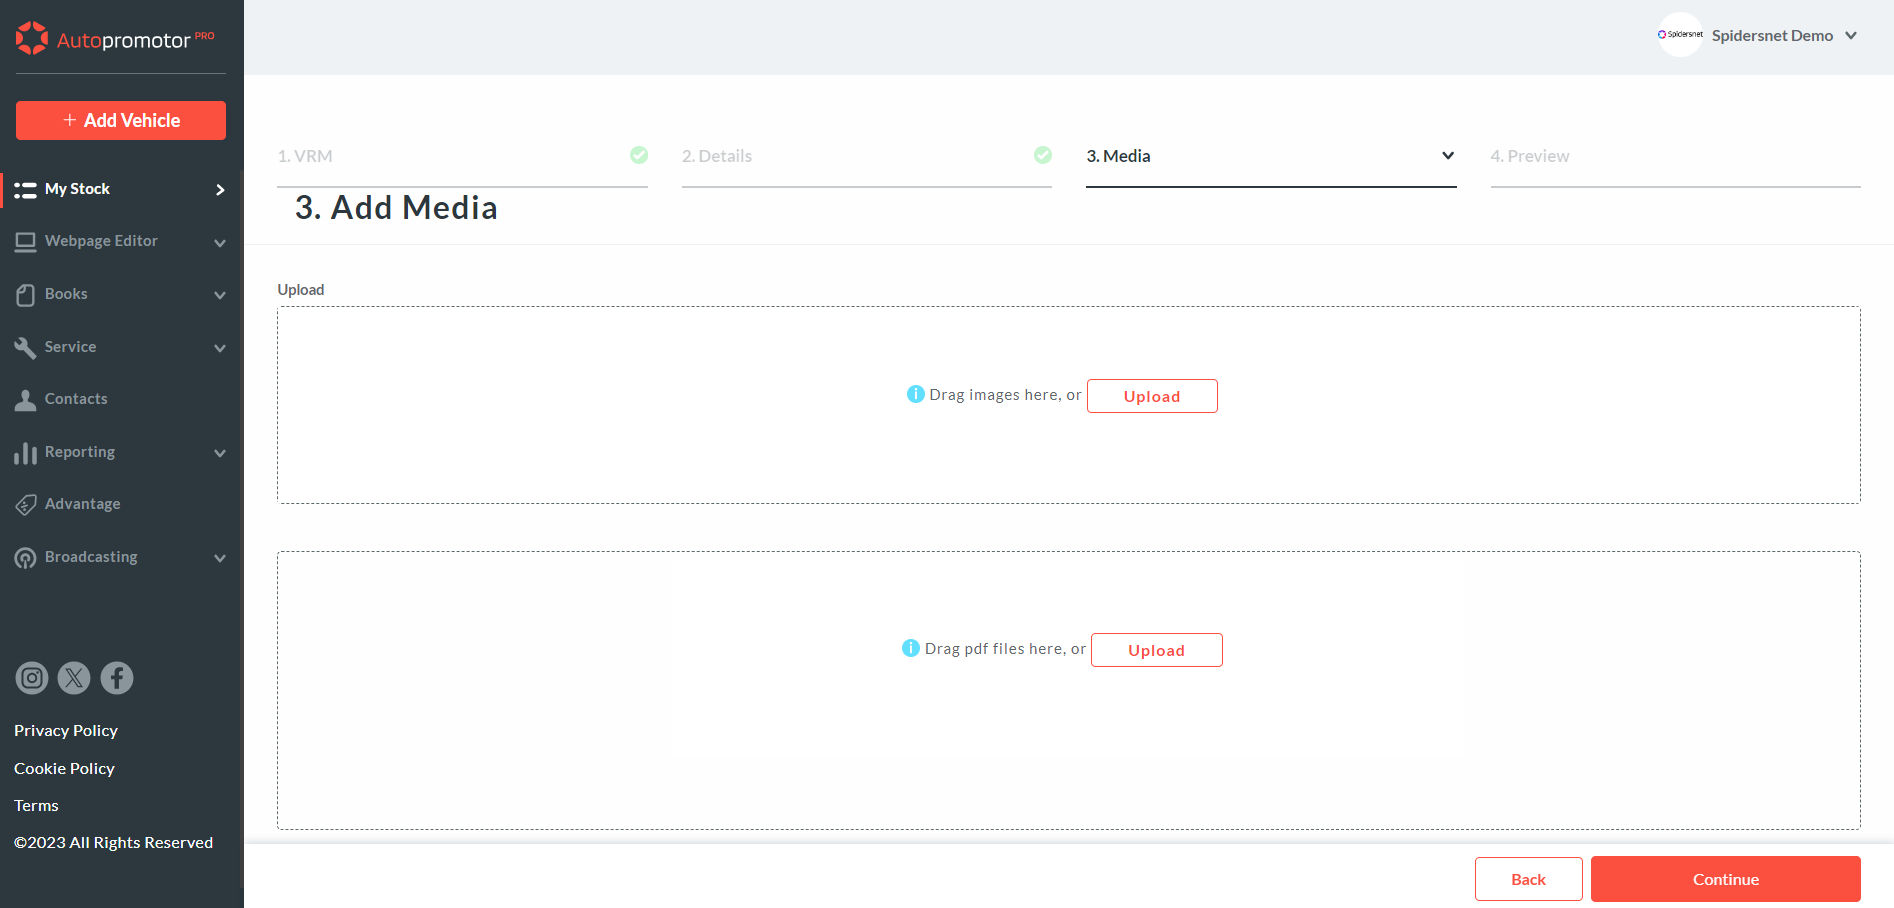
3 – Next you will want to upload the vehicle’s images to the advert. To add images to your vehicle, click the ‘Upload’ button or drag and drop images from your computer into the space provided. You can then reorder these images by dragging or dropping them.
If you click on individual images you will be taken to the ‘Edit’ screen where you can carry out basic edits such as cropping and rotating etc. Once you’re happy with your edits, click ‘Apply’ and they’ll be applied to the image.
Once you’re happy, click ‘Continue’.
4 – You’ll then see all of the details that will be included in the advert. Make sure you review all of the information carefully. Once you’re happy with it, click ‘Publish’ and it will be added to your website.