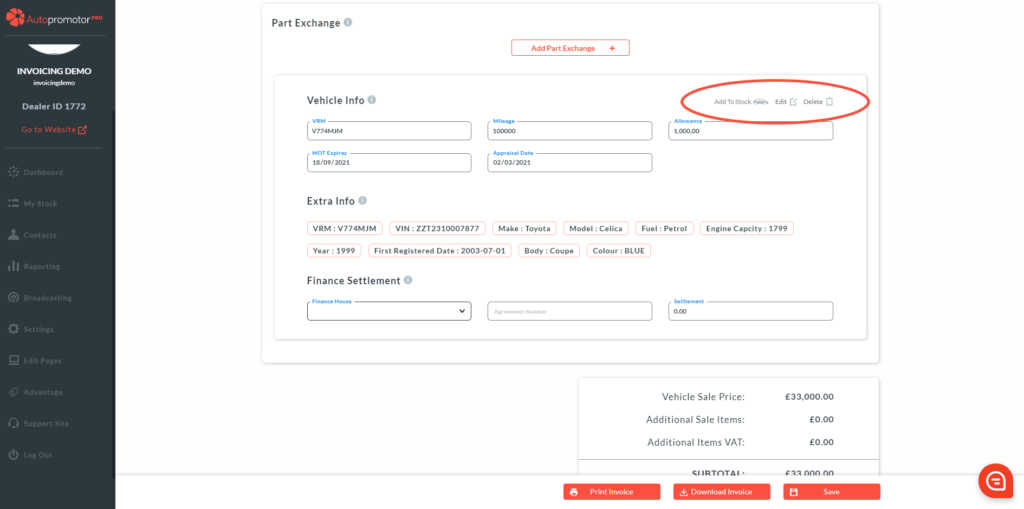
Once you have added your part exchange vehicle details to the sales invoice, you can easily delete by clicking on delete.
Step-By-Step Guide:
- This button can be located next to the add to stock button within the part exchange box on the sales invoice.

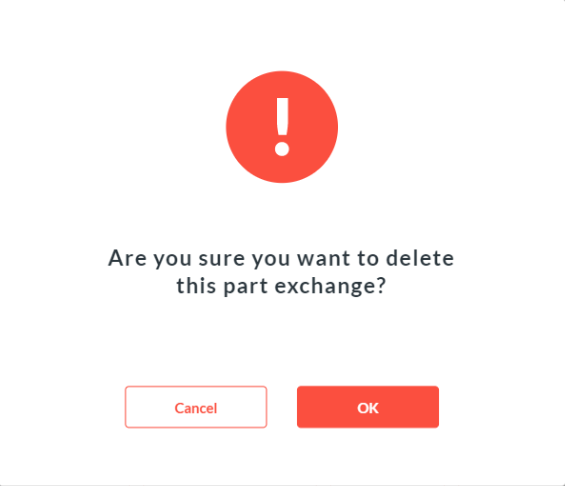
2. A pop up will appear asking you to confirm that you want to delete the part exchange vehicle.

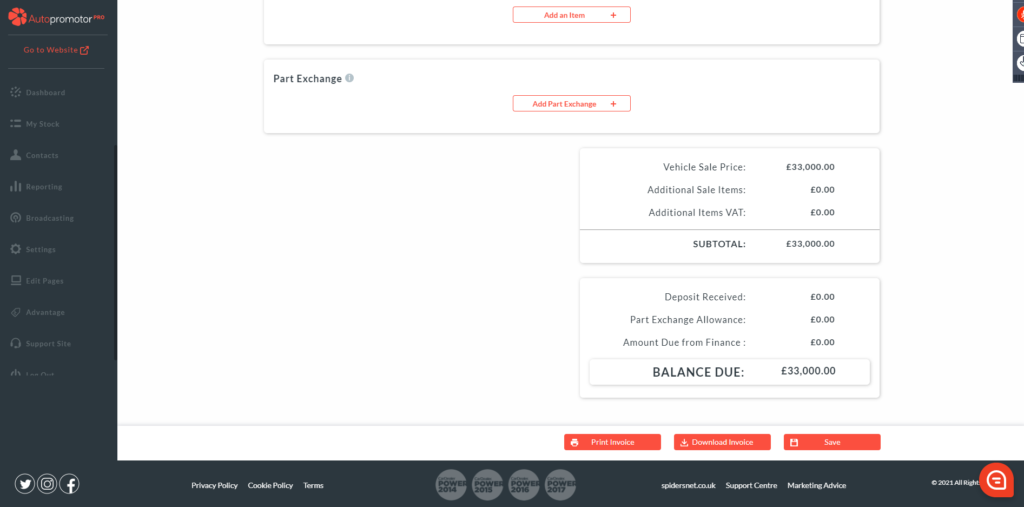
3. Simply click on ‘OK’. You will go back onto the Sales Invoice Screen and the Part Exchange Vehicle details will no longer show.

4. Click on ‘Save’
Was this helpful?
Let us know if this guide was helpful and you found out what you needed to know. If you didn't find all the information you required, then click 'No I still need more help' and fill in the form so we can assist you further.
